WOW - FREE Shipping! All orders $100 & up - Continental US! No Coupon Needed :) !close
Pumpkin Painting
Pumpkin Painting - FALL Fun Fair Idea!
|
|
|
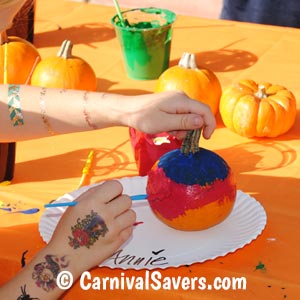
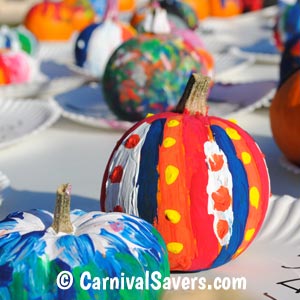
PUMPKIN PAINTING ACTIVITY - SETUP & DIRECTIONSShort Carnival Savers video/gif shows small hands painting pumpkins.
Supplies for Pumpkin Painting:
Pumpkin Painting Setup:This painting activity is simple to set up do as a DIY fall festival booth. The paint for the pumpkins can be an issue! First, washable paint is typically thin and almost transparent which is not idea when painting pumpkins! We tried the washable paint, and it did not do a good job - it was translucent so the designs did not show up well. A better choice is high quality tempera paint or acrylic paint (non-toxic of course) and have old (large adult) t-shirts or smocks for the kids to protect their clothing. Before your event, you may wish to test out your paint on a pumpkin and see how it does. It is also nice if it dries in a reasonable time - so be sure to choose water base paint! The biggest challenge is to reduce cost of the mini pumpkins as they can cost $1 - $2 each or more! Activity Setup:The setup is easy for this booth. You will set out 2 sets of tables - one for the painters and one set for the drying. It is great to have a few volunteers to assist kids with adding their names to the paper plates and helping to make sure enough colors of paint are available for young artists! Additional Hints & Tips:This is a fun fall activity for kids and gives them something to bring home and decorate their special space with a unique fall decor! Because the cost can be high to purchase the pumpkins, and of course, they cannot be stored for other events, you may wish to wait on this funfair activity if your budget is tight or if this is one of your first years and you are not sure about your attendance! Another activity that you could consider is Sand Art - and we have Fall Sand Art that is not date sensitive (like fresh pumpkins) and generally costs less per child than pumpkin painting! |

